
 |
| The velcro seemed like a good idea at the time. |
That sticky mess of melted velcro adhesive would still allow the rear view mirror to slip down. Usually while going over a sharp bump or pothole. I got to the point where I would reflexively reach over and push the mirror back up into position.
I had tried a few different fixes. I tried bending the mounting clamp edges in a bit, but that hardly made a difference. I cut some closed cell foam and jammed it up into the clamp before forcing the mirror back in place. I was always worried that too much force might result in a broken windshield.
I visited Pick and Pull and bought a mirror from an XJ8 and thought that I might give that a try. I wasn't sure if the wiring was the same.
I also picked up an oval shaped mirror from a Crown Vic, if I gave up on trying to use the OEM part.
Eventually the velcro strips seemed like the best idea. It seemed to work, for a while at least. The heat in the windshield melted the adhesive. Like many things I learned to ignore it.
A couple of years later (!) I'm finally disgusted enough to try a better fix.
 |
| Inside the sunglass holder this screw head is visible. A quarter turn is all it took. |
I did some research on the Jaguar Forums and learned how to remove the control panel and access the wiring. I unplugged the wire and completely removed the mirror.
 |
| This is the sunroof motor. Right between those brass colored holding clips I found a ready made hole. |
First I cleaned up the melted goo off the mirror arm with WD40. Then I cleaned that off with Castrol Super Clean.
 |
| This sloppy looking fix has been sitting there in plain sight for a couple of years. |
 |
| This is the mounting button area all cleaned up. I was prepared to mount an American style universal button underneath this if needed. Note the little protrusion at the top of the plate. |
I applied the same process to the windshield. I tried tightening the clips again, with no success. Hey, I gave it a try. It appears that that area in front of the wire is supposed to click into place with the little protrusion at the top of the button plate.
 |
| You can see the clips and past evidence that someone tried to glue it on. |
The mirror mounts by sliding it up into the mount from below. I figure that it was designed to break away when struck in a collision.
To keep it from sliding down I figured that I would string something through the mount and fasten it to a screw under the switch panel. If it can't slide down it can't fall off. A simple solution that is undetectable.
I worked a length of bailing wire around the mount leaving to long untrimmed ends.
 |
| The ends were wound one way and the other the other way. |
I didn't even have to drill a hole as there was already one provided for me. I inserted a plastic anchor and screw.
I wound the ends of the wire around the screw, restraining the downward movement of the mirror.
With everything back in place, the fix was completely hidden. While threading the wire I was concerned that I might have damaged one of the mirror dimming wires. I didn't want to risk having a short circuit in that area, so I left the plug disconnected but taped it securely in place. It wasn't like the mirror had been auto dimming before this.
I found out why.
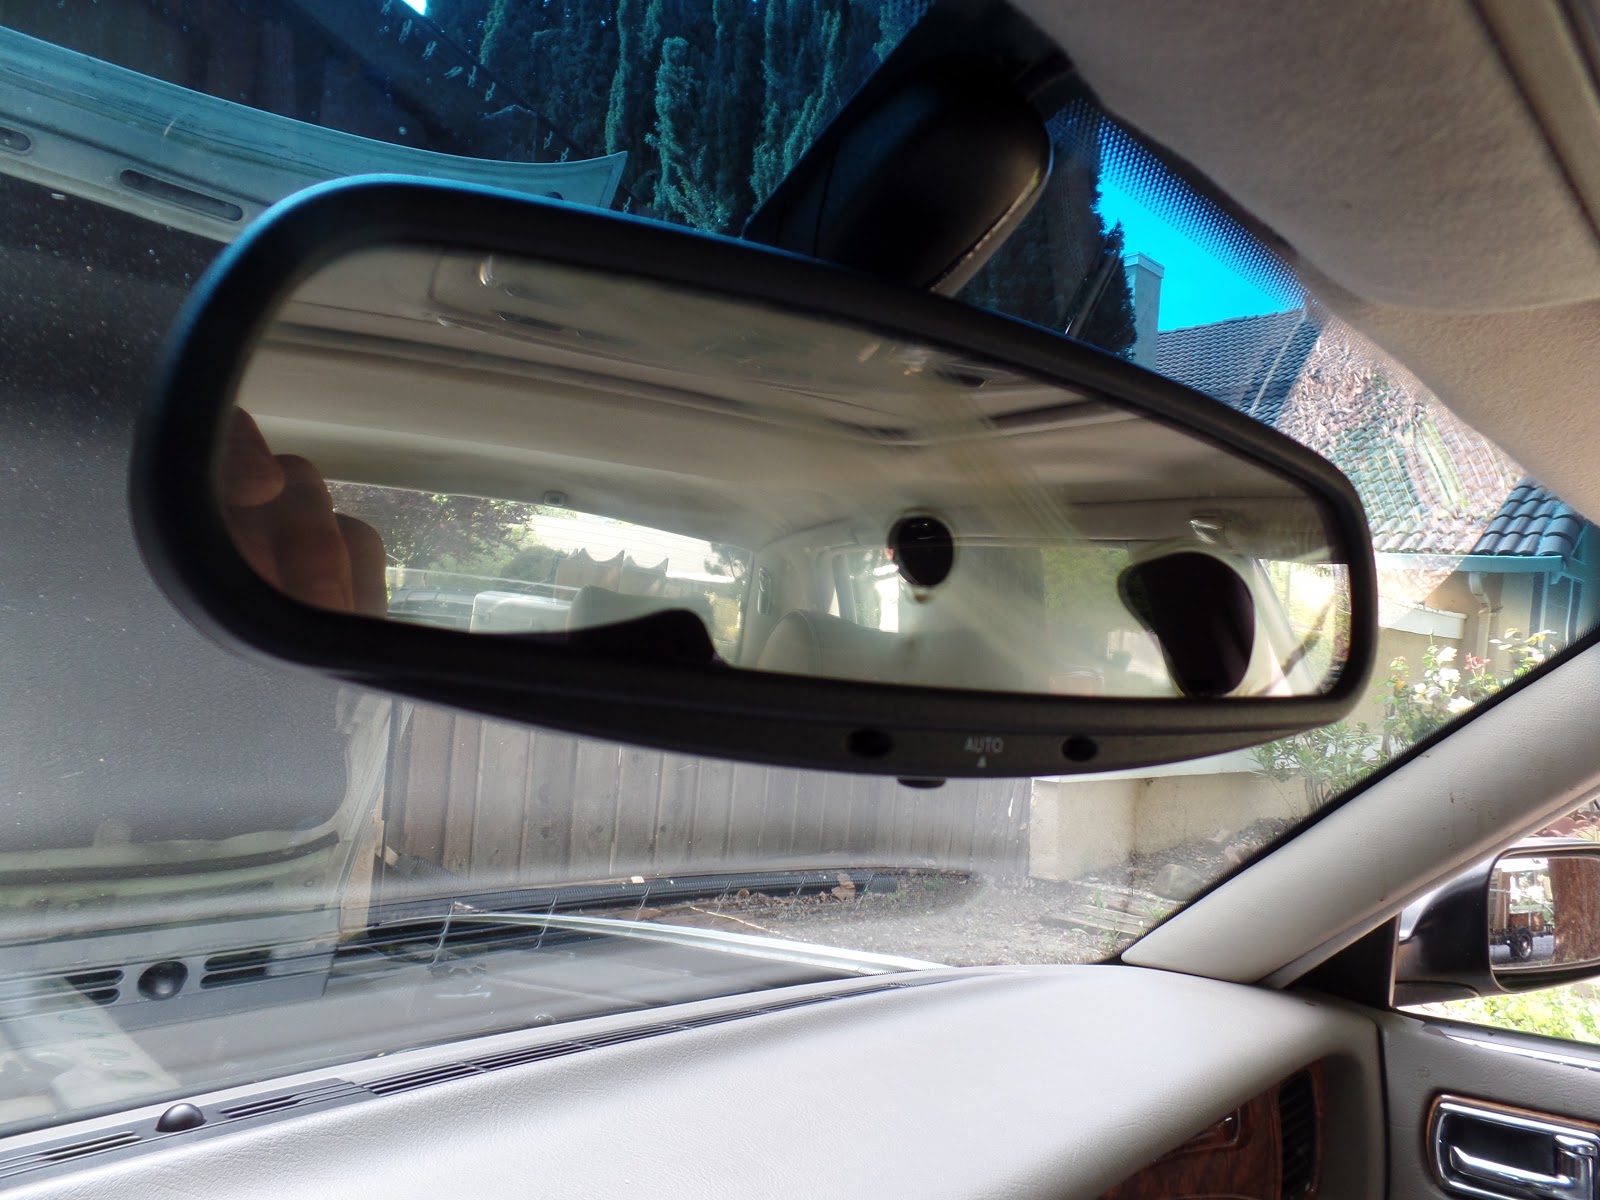 |
| Those dark spots spell trouble. I've read that there is a light sensitive liquid encased in the mirror that can leak out. It's refereed on the forums as Dragon's Blood! |
 |
| Some double sided tape and it was as good as new. |
A new mirror glass had been glued over the existing mirror. There was some dark spotting evident on the original mirror. The replacement glass had fallen out while I was cleaning up the unit. Well, it wasn't going to work now either, but at least it wasn't going to fall off while driving either.
Not the kind of repair that I would proudly share with my fellow members of Jaguar Forum. But it worked! My quality of life while driving has been measurably improved.
Now to do something about those shock absorber mounts.
No comments:
Post a Comment