
Installing the radiator in the XJ6.
 |
| This the old one that I just removed. Hard to believe that they want over 700 dollars for a new one. |
 |
| Trying to keep the driveway clean. Those darn ramps gave me plenty of working room. |
I thought that now would also be a good time to replace the old radiator bushings. I had ordered a new set a year or so back. I had stuck some pieces of radiator hose and pipe insulation the openings as a temporary fix. My little bodge did keep the thing from rattling back and forth. But there was a lot more damage that I couldn't see right away.
 |
| Things were much worse under the radiator. |
I jacked the car up and rested the wheels on the ramps, this would give me plenty of space to work under the car. I knew that I was going to have to first drain the radiator of coolant, which I did by disconnecting the bottom hose. I also knew that the transmission and power steering cooler connections would spill some fluid so I was careful to place a large tray to catch any spillage under an old brass planter that I used hold the coolant. I hate to make a mess in the driveway!
 |
| The peg was there, but what happened to the bushing? |
The rubber mounts for the a/c condenser needed replacing also. The ones on the top were hard but still intact. The lowers had gone AWOL some time ago. The lower mounting pin was bent back on one side and missing on the other. The condenser was sitting on the radiator cross member. Not conducive to long life.
 |
| Not only was the bushing gone so was the locating pin! |
When I bought the radiator mounts I didn't think to buy the condenser mounts. However I thought that I could come up with something. That's because I never throw old rubber bushings away. I looked through a few that I had on hand, and found a suitable pair. But what to do about that missing pin?
 |
| The two on the left looked like suitable replacements for the bottom mounts. |
I decided to run a small body bolt up from the bottom through the bushing into the bracket. It worked out quite well, as the bolt is not long enough to strike the condenser itself.
 |
| The trial fit. That's not a leak. The bolt fell into the drained tranny fluid. |
The only thing left of the original radiator bushings were a couple of large aluminum washers. All traces of foam had disappeared completely over the years.
I remember reading a blog post on the Jaguar forums that related how difficult it was to mount the aftermarket rubber radiator mounts. The OEM bushings were originally made of a foam rubber material. The aftermarket replacements were made a rather unyielding rubber. Compounding the problem was that the radiator support cross member was the part of the under carriage that had often hit those concrete parking bumpers. My car sits pretty low in the front, I think that it looks good, but boy did that cross member take a beating. The passenger side was bent up a bit and the radiator mount wouldn't settle properly into the opening.
 |
| Like most non OEM replacements these are made of rubber. Much stiffer than Jaguar's choice of foam. |
What I should have done was bash the cross member back into shape with a big hammer and done some trial fitting before I placed the radiator back into place. I hadn't realized how stiff those darn bushings were! The mount would not fit in the hole on the passenger side. I ended up using a big adjustable wrench to twist and pull the cross member down into a somewhat better alignment. I also was concerned that I might twist the radiator. I didn't want to bind up the radiator. So I left all the mounting bolts a bit loose. I 'm hoping that everything will "massage" itself into place over a little time. Then I'll tighten them down a bit more.
 |
| You can see the three ball socket mounts. I added a drop of oil to the socket before popping the assembly back into place. |
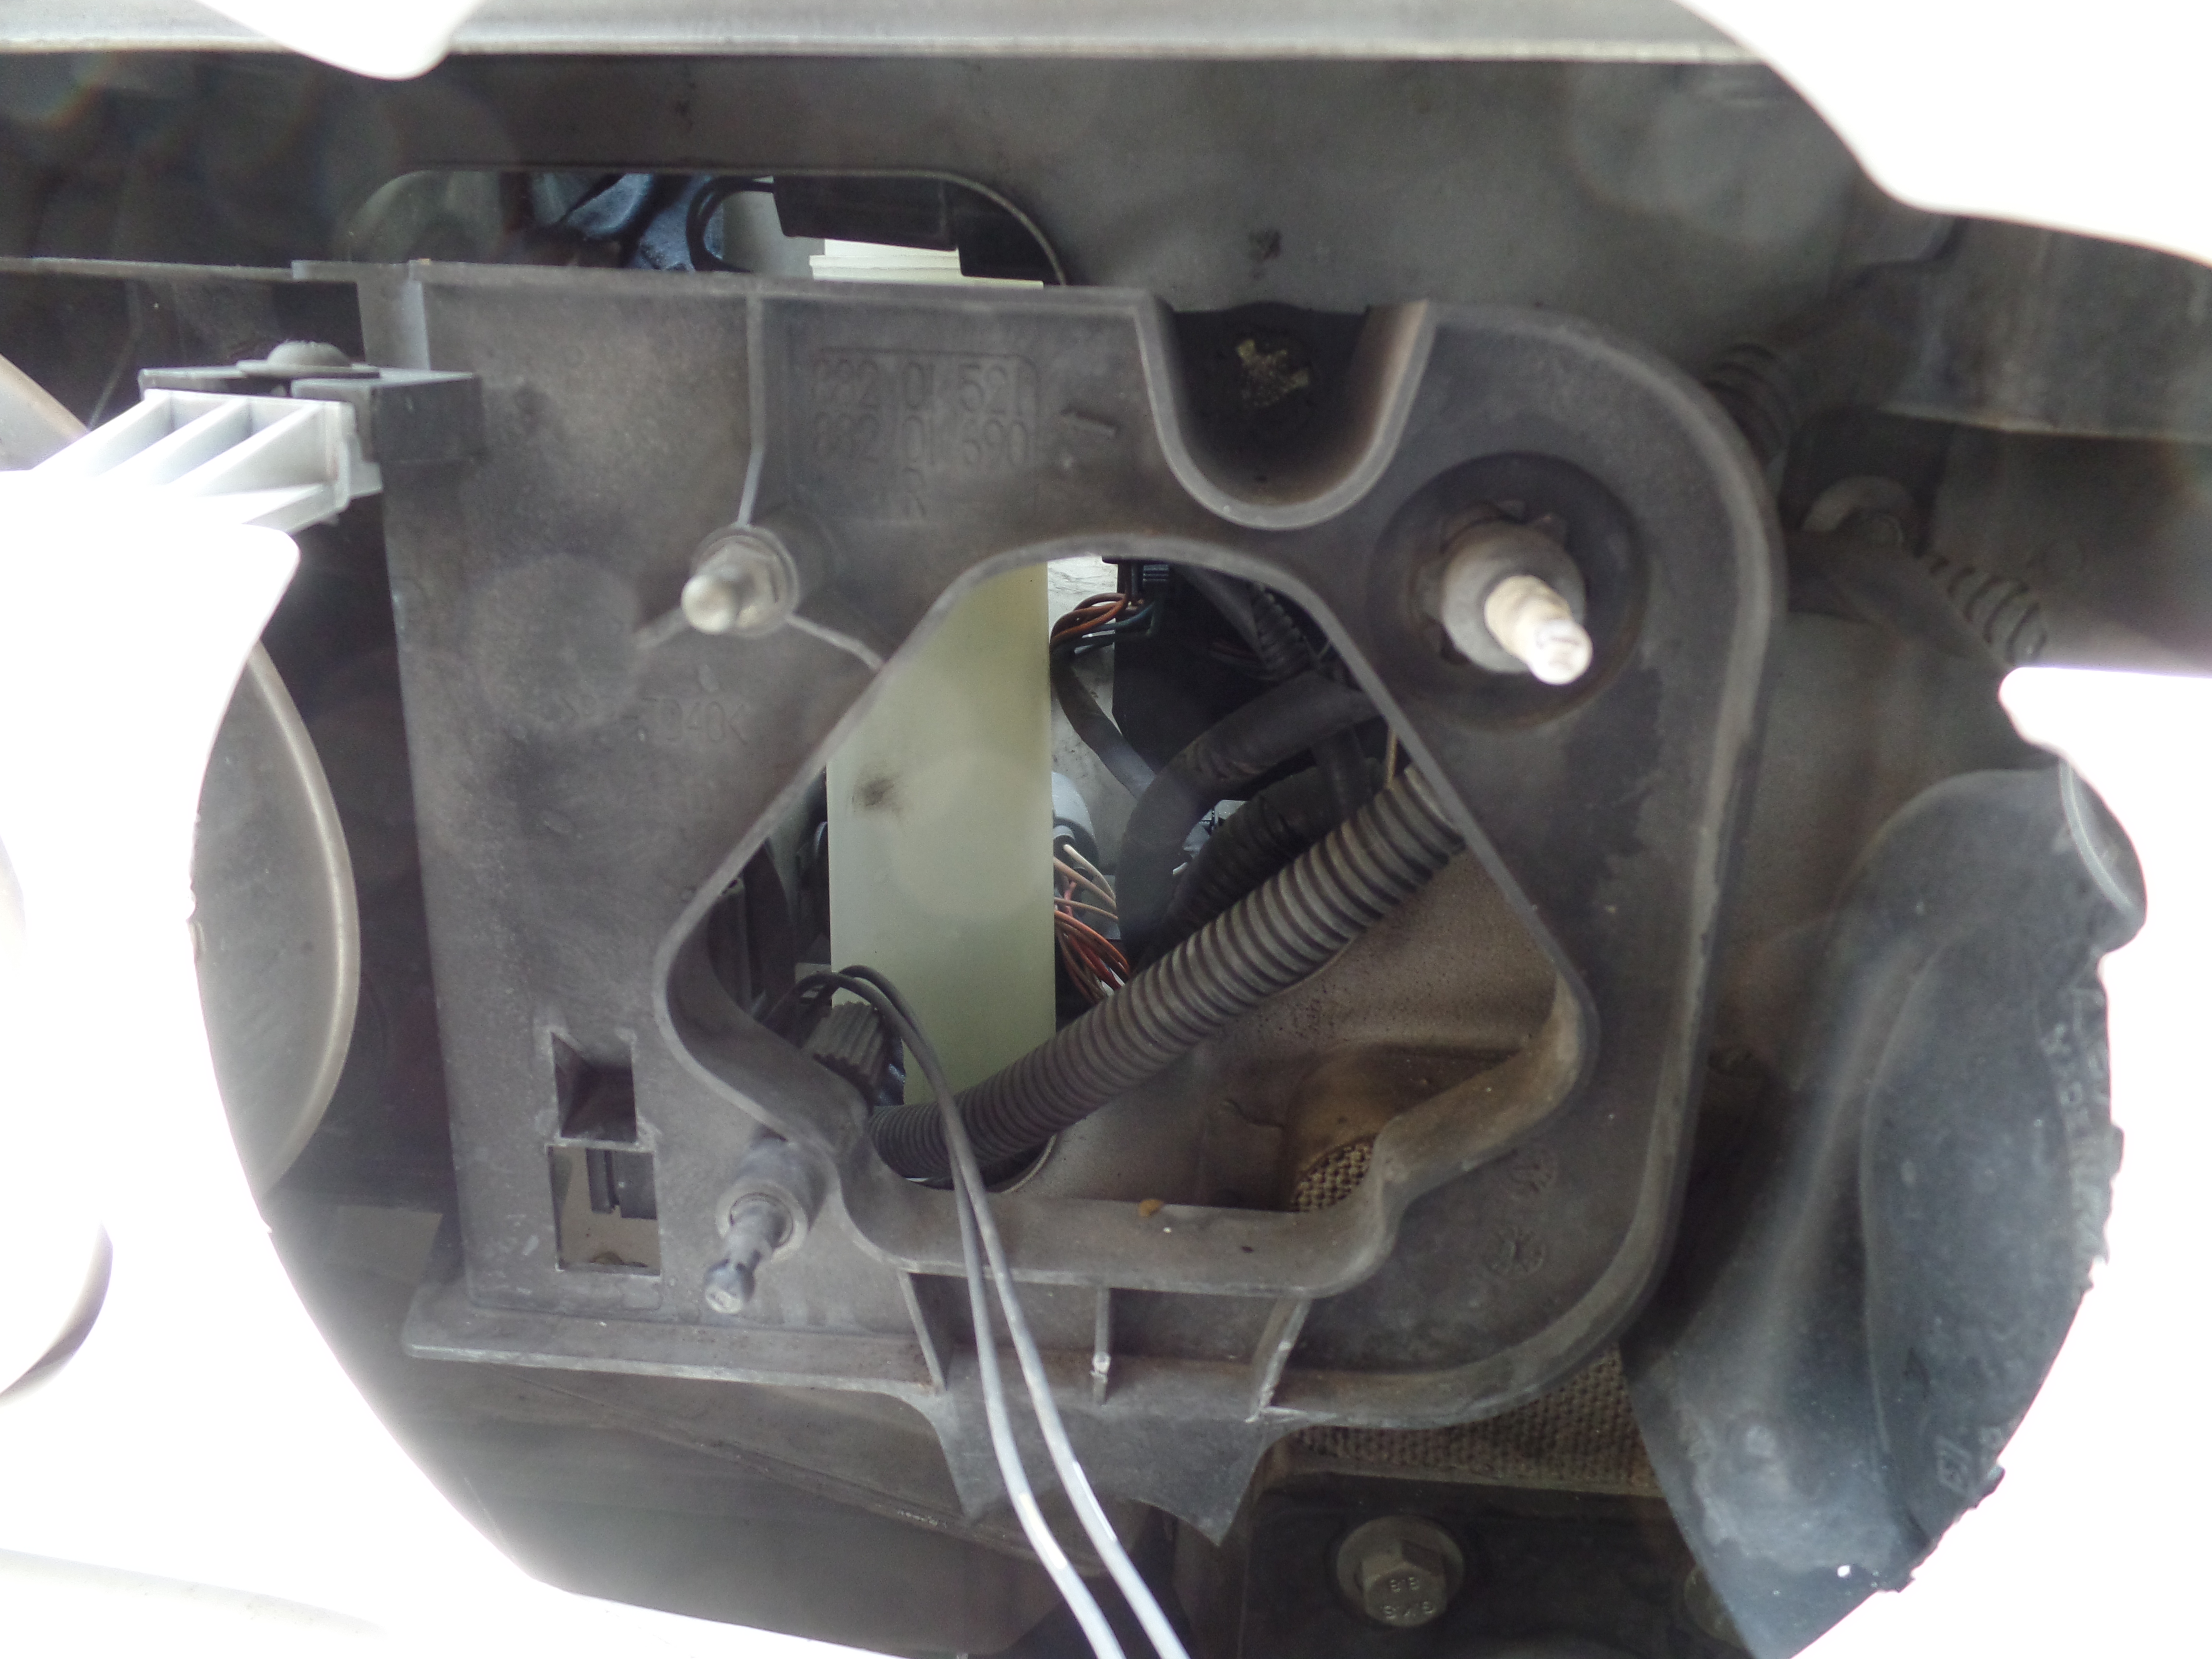
I also decided to replace the defective headlamp assembly. The old one popped out easily and the replacement went in just as easy. The replacement's lens is much clearer looking than the road blasted unit it replaced. When I find another high beam unit I'll replace the other three. Unfortunately the car at the wreckers had one broken headlight, the right high beam. I''ll just keep and eye out, they're easy enough to remove.
 |
| The backside view of the headlamp assembly. |
I refilled all the fluids, straining the coolant through a piece of old T shirt. Hey, I'm a professional! Not only does that save money, it's the recommended procedure. The manual states that the coolant should be re-used if possible. I started up the car and let it run and heat up. I left the radiator cap off and turned the heater on to the high setting. Hopefully this will get all the air out of the system. Then I topped up the coolant tank.
 |
| The washer fluid tank hangs down a bit low also. |
Since I was using the ramps I thought that I'd be cute and just roll the car backwards off the ramps. Why jack up the car to get the ramps out? I let the car roll back and it seemed fine until I heard a cracking sound! After it was on terra firma I got out to see what had occurred. A stream of green liquid was dripping from the front of the car. Had the radiator cracked? Was a hose loose? It had been running for almost half an hour and there hadn't been any leaks.
 |
| You can see the crack in the bottom. |
I looked under the car and realized that the windshield washer tank was positioned in front of the right front wheel. Low car, plus car ramps, equals a bad combination. The bottom of the tank had contacted the ramp on the way down. Luckily the tank only had a small crack on the bottom. What else could go wrong?
I took the car out on my 20 mile test loop. It seemed fine, staying under the normal mark, even with the A/C on. Just as I was almost home the needle went over the center as I was stopped at a red light. A couple of minutes after I drove off, the needle went back down. Why couldn't things ever be simple?
When I parked in the driveway I opened the hood checking for possible leaks. The noticed that the fans had not come on. That was unusual. Maybe the temperature sensor had gone bad?
At the wreckers when I removed the radiator/ fan shroud assembly I had disconnected the wires from the junction point under the left bumper. I had started to disconnect them from that point again, but changed my mind and instead disconnected the wires at the individual fan motors. When I looked under the bumper I saw that I had loosened the connection enough that it had fallen off during the test drive! I plugged the connector in and the fans sprung into life. Mystery solved.
What to do about the cracked washer fluid reservoir? It would be easy enough to replace, That VdP at the wreckers still had one in place. I thought that I'd just try to fix it with silicon seal first.
 |
| This rather unattractive photo displays a quantity of sealer squeezed onto a piece of plastic. |
I had once read an article in an old motorcycle magazine on making emergency repairs. It recommended squeezing a quantity of sealer onto a piece of plastic sheet and letting it set up for a time. Especially when trying to stop an active leak. Then you apply the sealer and can press the plastic to secure the sealer to the crack. It also keeps that stinky silicon off your fingers! After it cures you can peel the plastic off. In this case I had let the tank drain completely and wiped the area down with alcohol first.
 |
| There's the silicon patch applied to he bottom of the tank. |
After the silicon cured for a couple of days I just peeled the plastic off. It left the patch behind. It sealed the leak and the patch isn't visible unless you get down on your hands and knees. Good enough for now.
Now that I eliminated the radiator as a problem I can move forward with the next priority, dealing with the OBD codes. Once I'm successful at passing the smog test I can plan for the suspension rebuild.
No comments:
Post a Comment