
Replacing the seat motors on the '07 Mustang's front seat.

OEM seat motors and tracks are extremely expensive. Lasco Ford parts lists a new replacement unit at a discount price of 735.65 which is 25% off of the original price of 980.87! Used units are listed on E Bay at prices of 130.00- 250.00.
There are currently no service parts currently available from Ford! Or from the aftermarket.
My Daughter's '07 seat had developed problems with the motor and could no longer be adjusted. My '96 had a stuck /inoperative power seat when I bought, it crammed my knees up against the dash.
I had been kicking around the idea of getting a '13, or '14 model Mustang. When I learned about the high replacement cost and the lack of a manual replacement for the seat adjuster, it just bummed me out.
I don't really know why. After all my XJ6 never came with a manual seat, neither did my Flex. I wasn't in a dither about that. Maybe because I was planning on keeping my "new" Mustang for a very long period.
It turns out that there was a manual seat adjuster available, it even raised and lowered the seat a few inches. I had bought a complete seat at the San Jose Pick and Pull and swapped it into the '07 while I looked for a power replacement.
I had sent my Daughter off with that seat in her car.
I decided that I would continue to look for a replacement power unit, as well as an additional manual unit to keep as a spare.
I found both in one day at Pick and Pull in Newark and bought both of them. It was a really hot day, well into the 90's which is rare for the Bay Area. I found what I needed in a couple of different cars. I pulled the power seat out first, unbolted the seat back and carried the seat base to the next car which had the manual seat. I pulled this seat and unbolted the seat back as well.
Now I had two seat bases, one manual and one with power adjustment, which is much heavier. I also had a pretty heavy tool bag. I carried the power base with my left hand and the lighter manual base along with the tool bag with my right. I held the tool bag with the three middle fingers of my right hand and set off for the cashier's area. It was quite a bit away.
I shuffled off towards the front of the yard, I'd go about 125 ft. then set everything down for about 15 seconds then pick everything up and shuffle off again. This was repeated several times and I started to notice some pitying looks from some of the other patrons. One guy even asked if I wanted to borrow his hand truck but I told him," no, I got this!" It was hot and I was tired from several hours of yard work at home before coming to the wrecking yard. But I was still very happy, I'd found both of the things I was looking for in this same trip!
I'd been watching videos that showed the seat back being removed along with the seat upholstery and seat pan. The guy in the video said that was how Ford sold them, as a unit. This is what I related to the cashier.
The lady at the check out at the Pick and Pull had other ideas, she said that she could see some nuts on the frame. She was willing to sell the frames as a complete assembly I'd just have to pay for all the additional parts! That was going to double the cost, so I moved to the side of the check out area and started taking the seat bases apart.
I was a sweaty, dirty, exhausted, mess. I kneeled on the asphalt but at least there was some shade from the sun. On top of that, I'd injured the muscles of my three middle fingers of my right hand which were starting to cramp up. Luckily I had plenty of tools in that heavy bag, and I unbolted the seat tracks from the bases. Hmmm, the videos had never mentioned that this was possible. They hadn't showed much detail and I had assumed they were manufactured as a single unit.
When I reached the cashier she started to charge me for the wire harness also, at first I was going to argue and maybe remove it, but I'd reached my limits so I just paid for it as well.
It seemed like a really long walk back to the truck. This was quite an unglamorous episode in my adventure, I'd looked like a beat up, old, raggedy ass man, which was exactly how I felt.
At least until the a/c cooled me off!
So now I had a power unit and another manual unit available as a spare. I planned to put the power unit in the '07. I thought that I should test it out first.
There are a lot of wiring in the seat controls, it wasn't going to be easy for me to come up with a plan to jump wires to rest the motors. I didn't want to disassemble the '07's seat controls to try to test it. I thought that I'd just install the motor, on the seat then try it out.

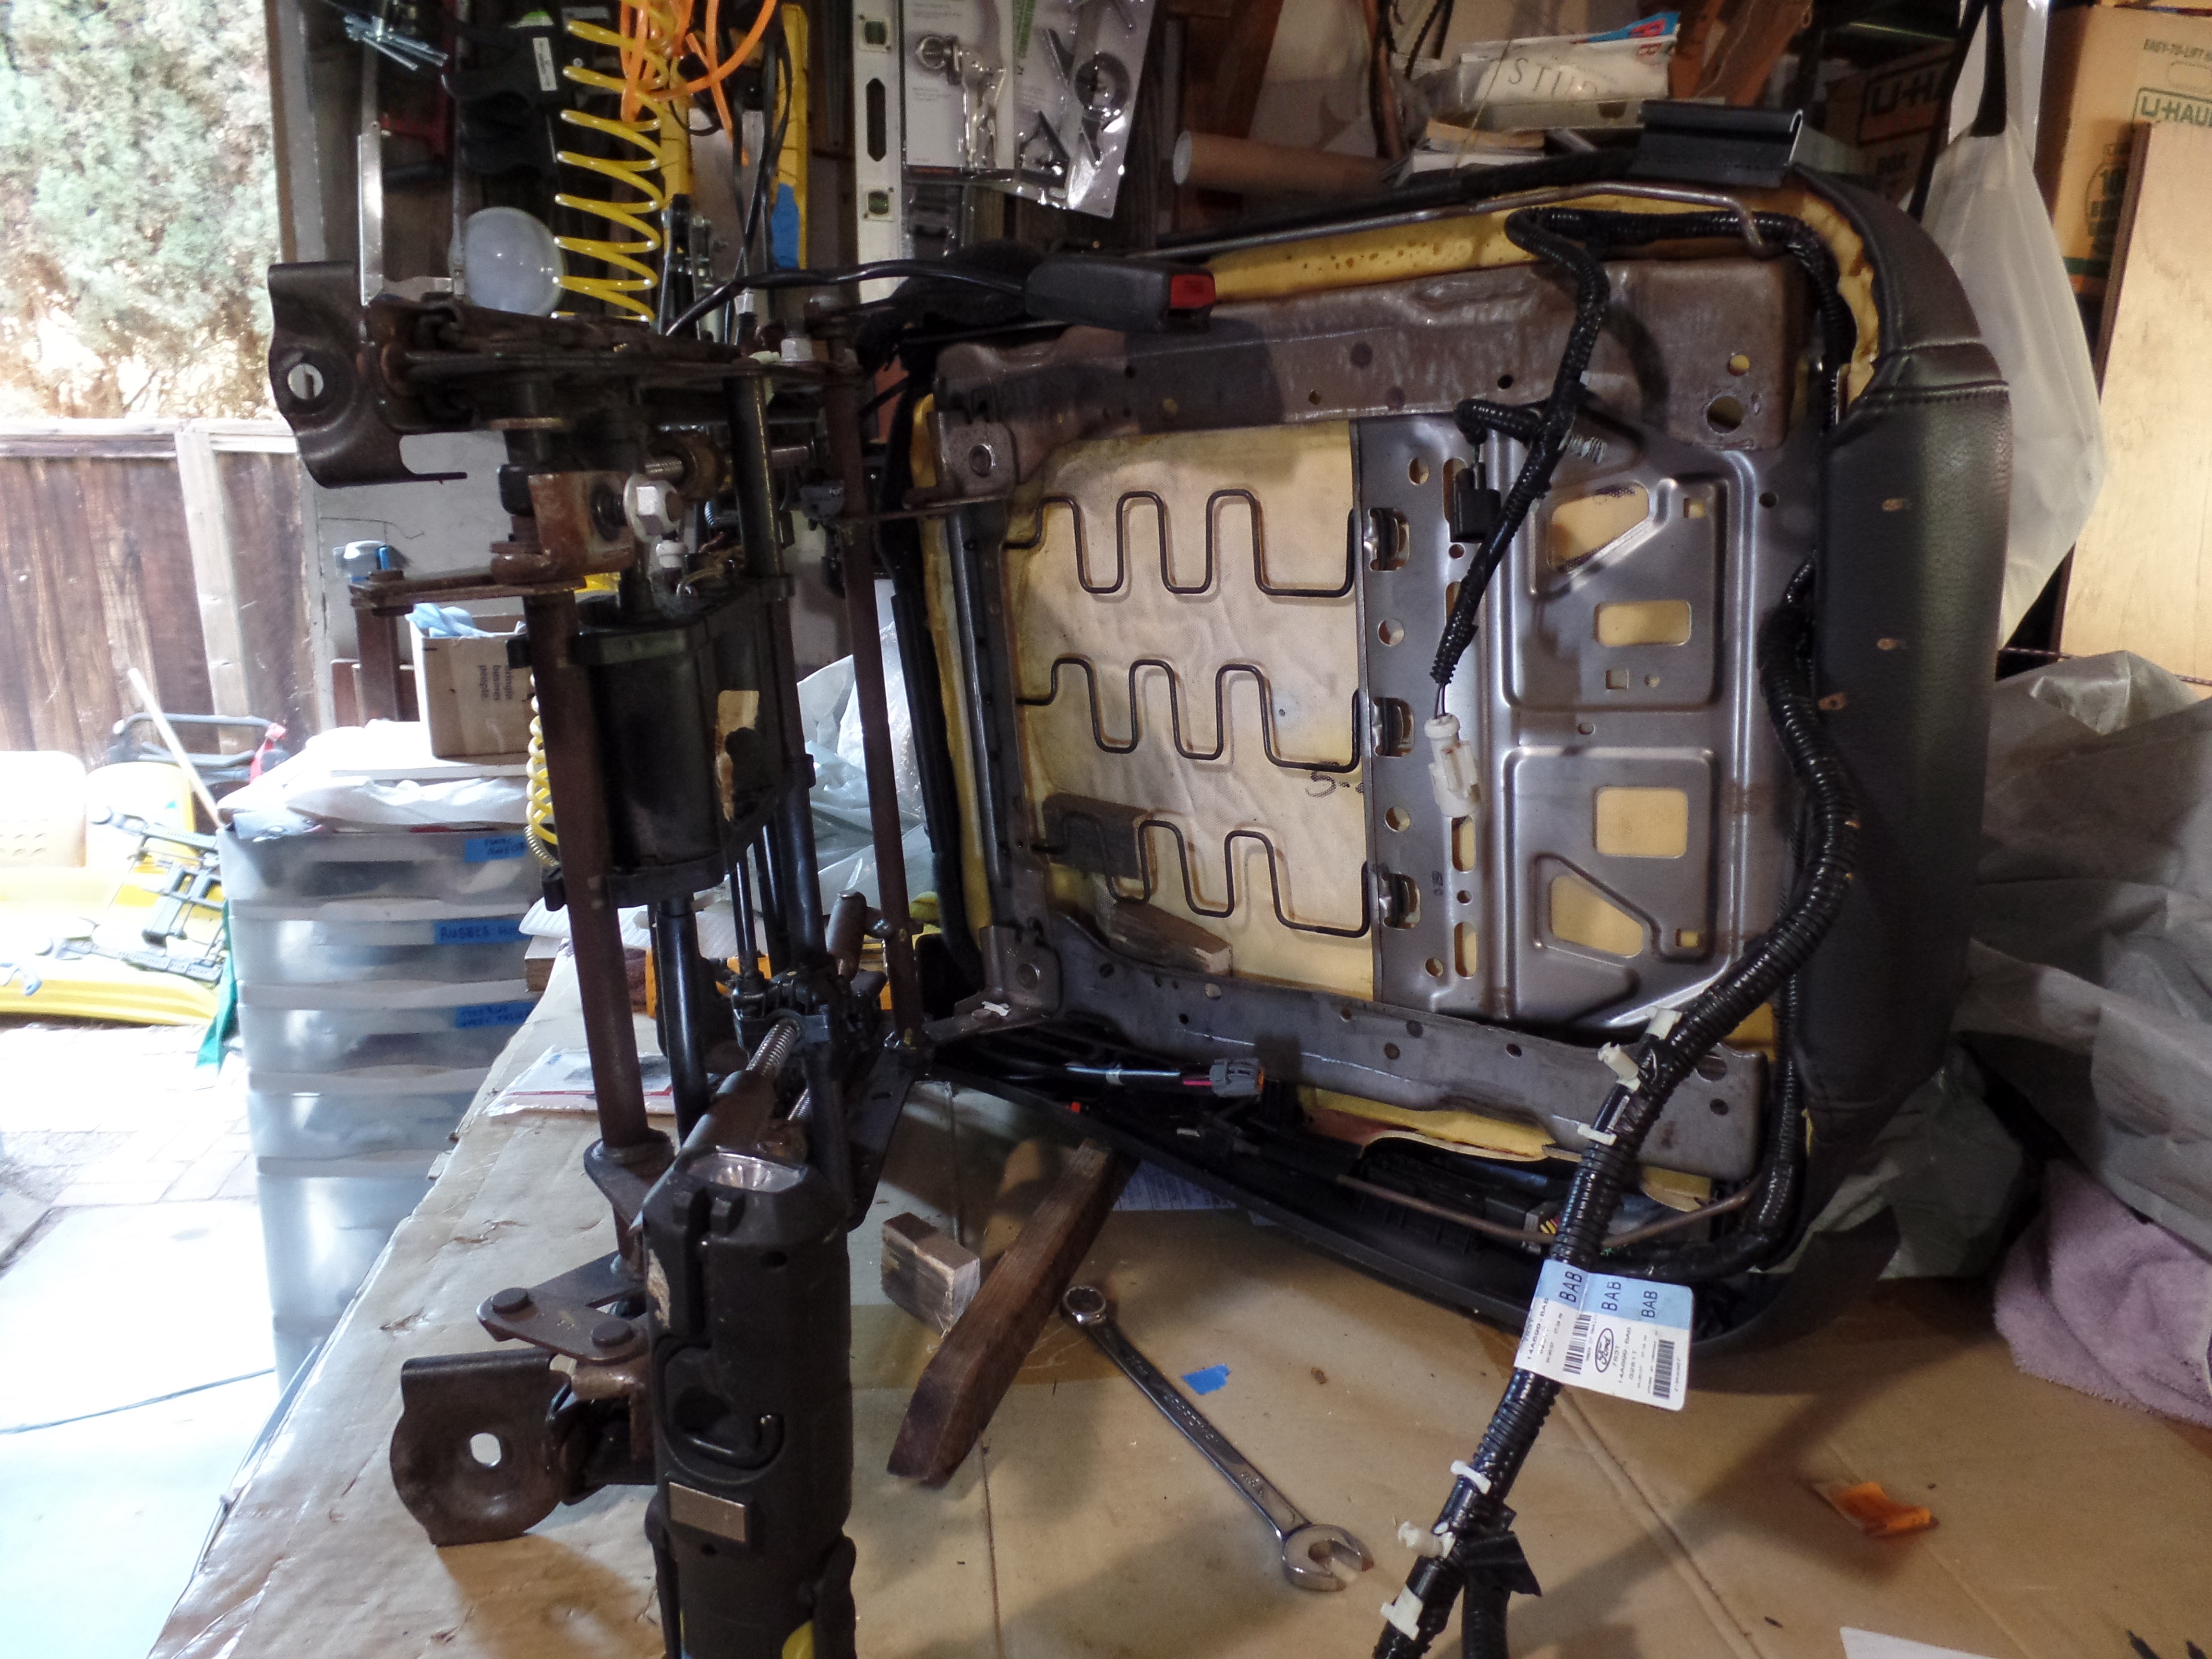
This is the power track that I bought. This is the top view, the four attaching nuts are clearly visible. The left side where the wire loom exits is the front of the seat.
I put the seat on my garage table where it would be easier to work on. The seat tracks were held on by threaded studs with the nuts on the inside of the seat base. It would have been easier if Ford had welded the studs to the seat base instead of locating the nuts inside. If you pull the seat upholstery off and unbolt the seat back it is easy to put the nuts on. I didn't want to do that, and it isn't really necessary. I found a simpler way.

The rear nuts are covered by the seat foam and are hard to see, but you can fit a box end wrench to remove them pretty easily.
You can do this part by feel. Just be careful, the metal panels and parts of the seat assembly are stamped metal and usually have one very sharp edge. I worked in auto production for GM and found that all interior metal panels can cut you quite severely if you are not careful. Just imagine that each component has a knife edge.
The front mounting nuts are easy to access.
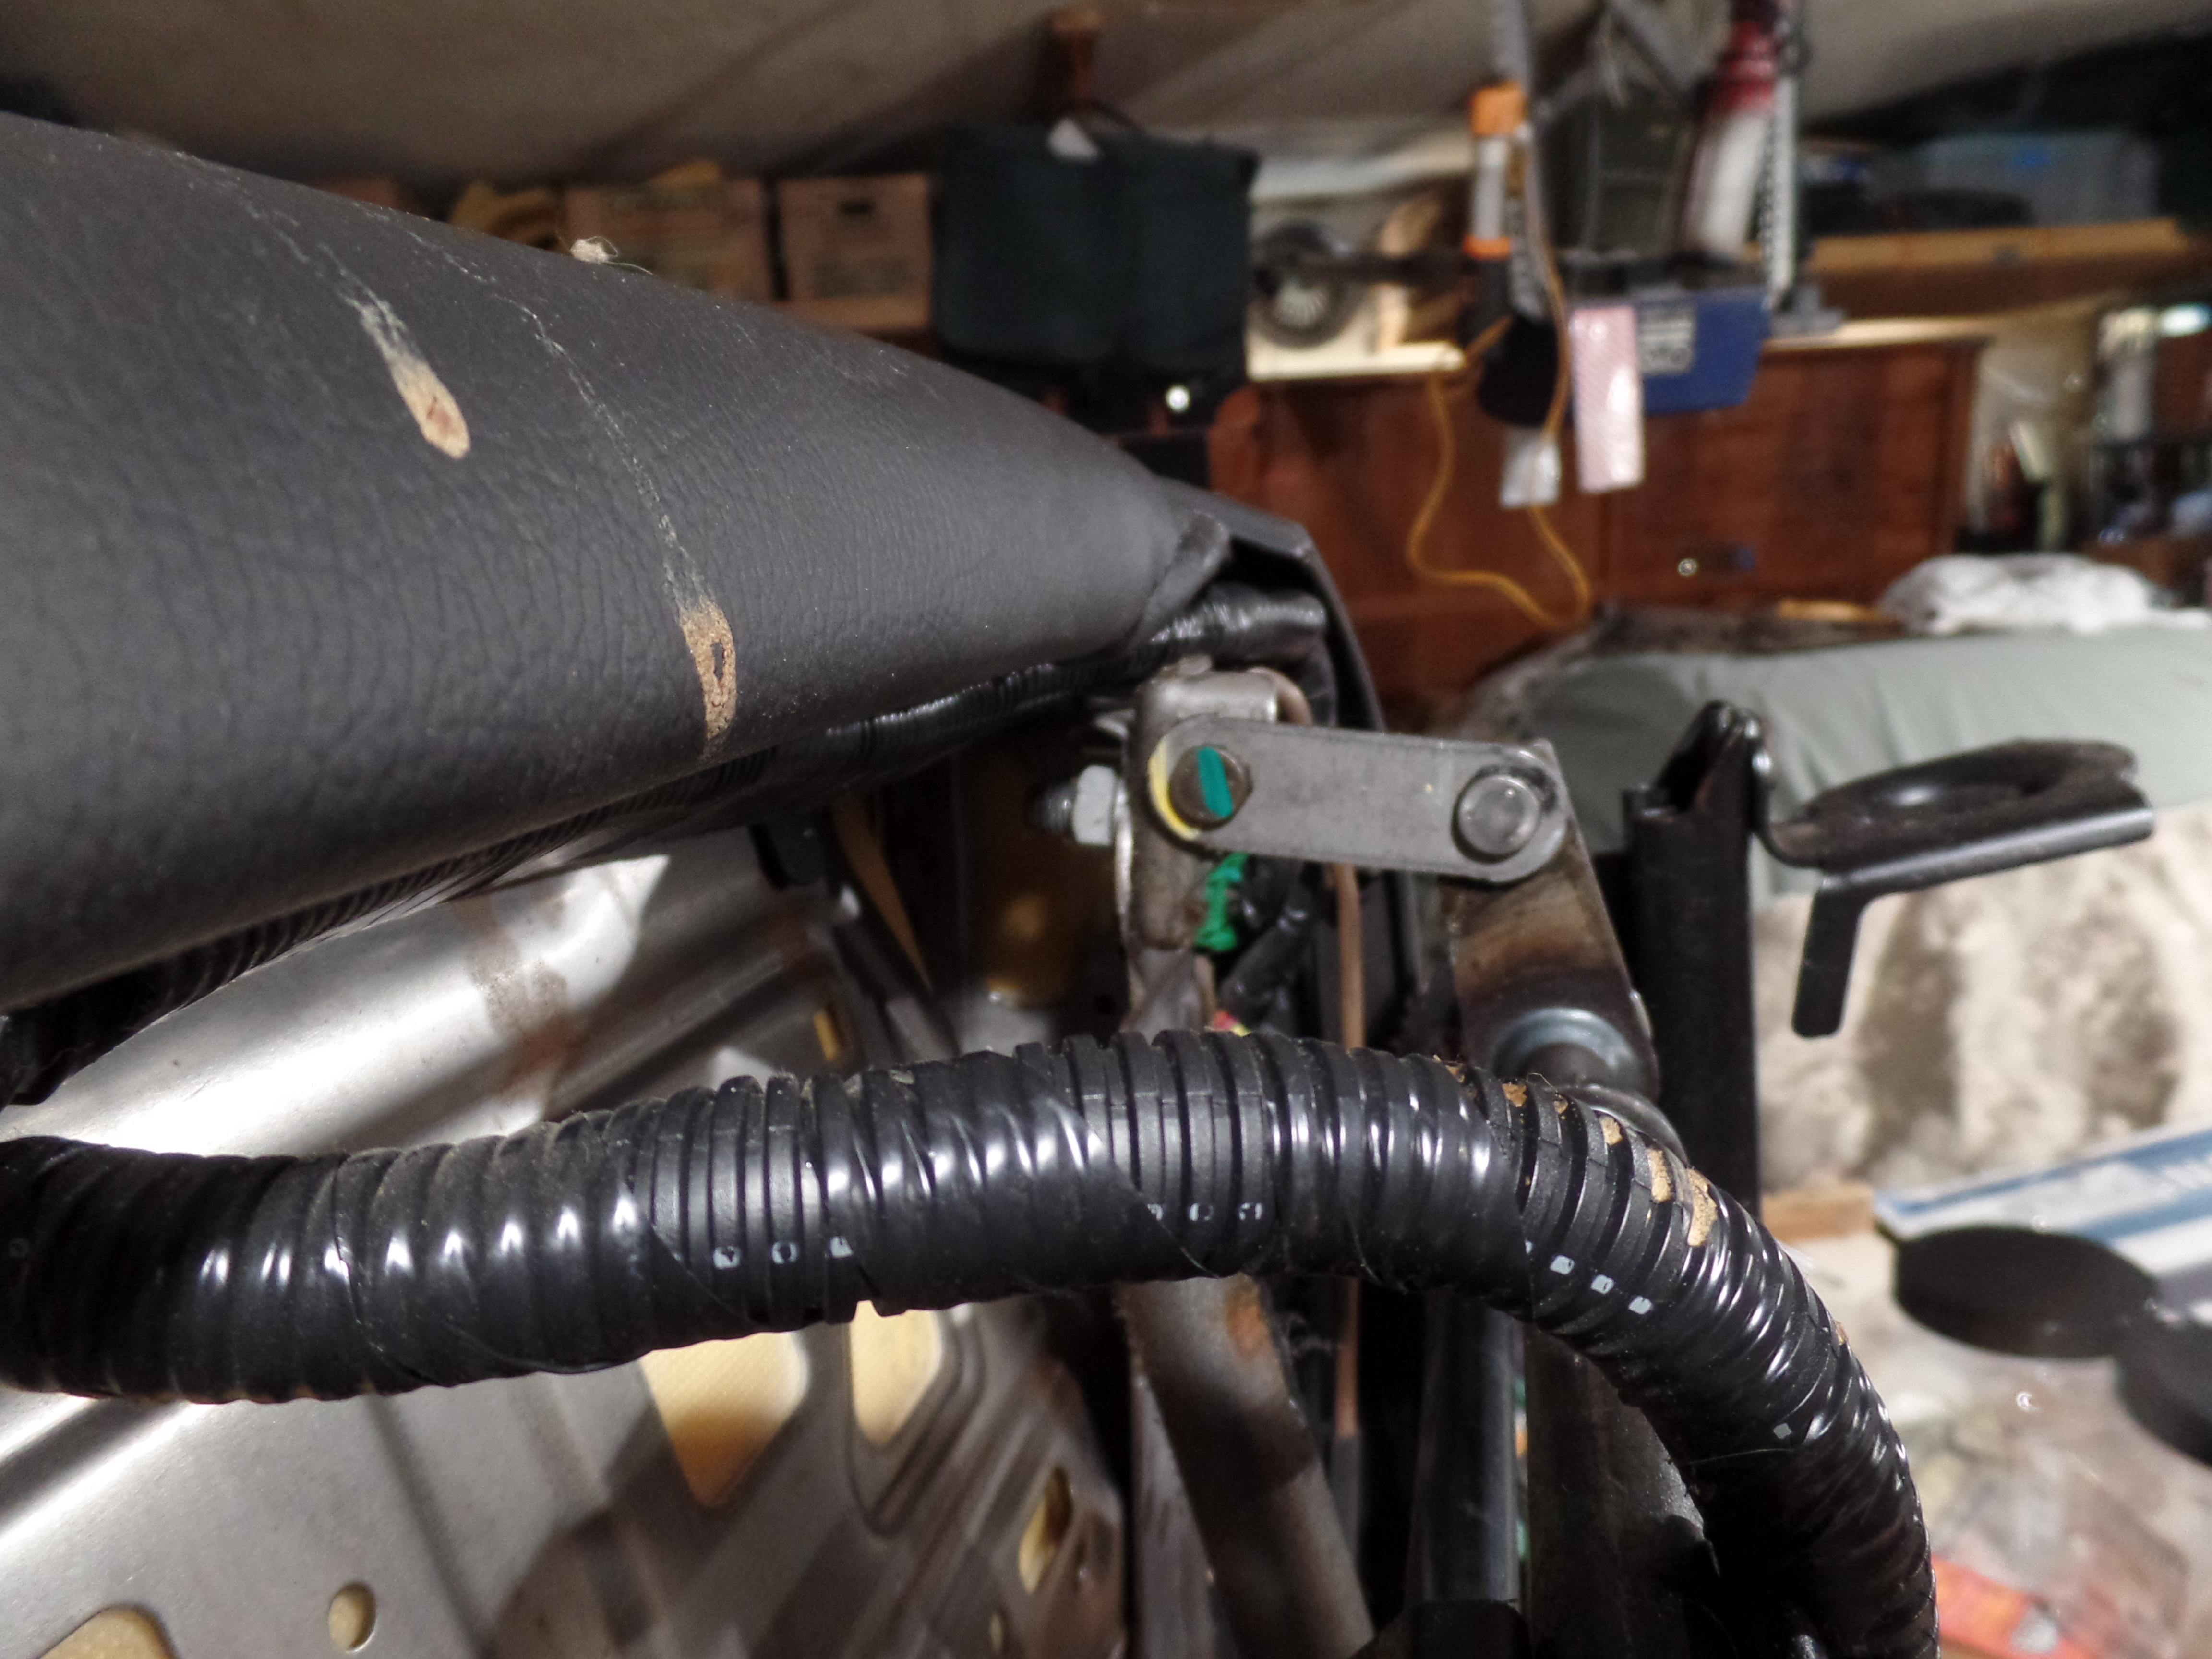
I didn't want to disconnect the seat switches from the left side seat base trim panel, so I disconnected all the wiring connections to the motors. I will re connect these to the replacement seat track once it is in place. I wanted to minimize the potential for damage.

As you can see, the track has been removed, the wiring harness has been disconnected, but the seat base, upholstery, and trim/control panel has not been disturbed.
Removal of the front nuts allowed me to pivot the track away from the base, like a hinge, giving me a lot more room to work. I was going to repeat this by attaching the two rear nuts first. But how was I going to get the nuts started on the studs since I couldn't see them too well, and the seat foam was firmly pressed against where they had to go?


I needed something to push back the foam and hold it in place so I could get my fingers in and the nut threaded on the stud. I cut these little wooden blocks to do the job.

I forced the blocks in between the frame and the foam to open up some working space. You can see that the track is angled away from base during this step.

With both rear nuts attached the wiring harness was reattached as the track was swung back into place.

This is the main electrical connector for the seat motors. I thought that I might hook up jumpers to test it but I came up with a better plan. I'd try it out in my "new" '06.
First, I covered the door sill area with an old towel to prevent scraping that area up when pulling the seat. I carefully removed the driver's seat from my "new" '06 and set the '07's seat in it's place. I hooked up the wiring harness and found that the replacement seat track worked perfectly. I then removed this seat and replaced it with the original. I set the repaired seat in the garage and will replace the junkyard seat from my Daughter's car the next she comes to visit.
I'm going to hold onto the broken seat motor assembly. It's quite possible that in the future some manufacturer might start to provide service parts. Then I'll be able to rebuild the tracks. In the meantime I've now got two manual adjusters as back up.
No comments:
Post a Comment