
A car guys nightmare. Part Two.
 |
| This is what it looked like from the outside. |
I knew that I would need a new set of hinges. I found the kit for 180.00 at Home Depot. The springs were extra, available separately, at under 30.00. Like everything else prices have gone up steadily over the years but it had been at least twenty years since I replaced the hinges.
Based upon my experience, I knew that it was safe to work on the hinges with the door in the closed position. It can't fall forward through the opening because it is taller than the opening. As long as one hinge is still intact and the power opener is attached, it is unlikely to fall back inside. But it could twist and fall back a bit. Damaging the door and power opening unit.


The problem was that I needed some working room. Luckily my garage has extra depth to allow access to the utilities and a path to the side door. All I had to do was to clear some of the stuff that was in front of my parked cars and move them forward a couple of feet.

I wheeled my two roll away tool boxes out the side door. Then I moved some of the smaller items and stuff outside. I had more space in front of my blue Mustang so I moved it up more. Then I moved the table back and moved the red Mustang forward. Now I had plenty of access to the bad hinge. I decided to wait until I was finished fixing the hinge before I assessed the damage to the red Mustang. There was nothing that I could do about it anyway, and I didn't need the distraction.

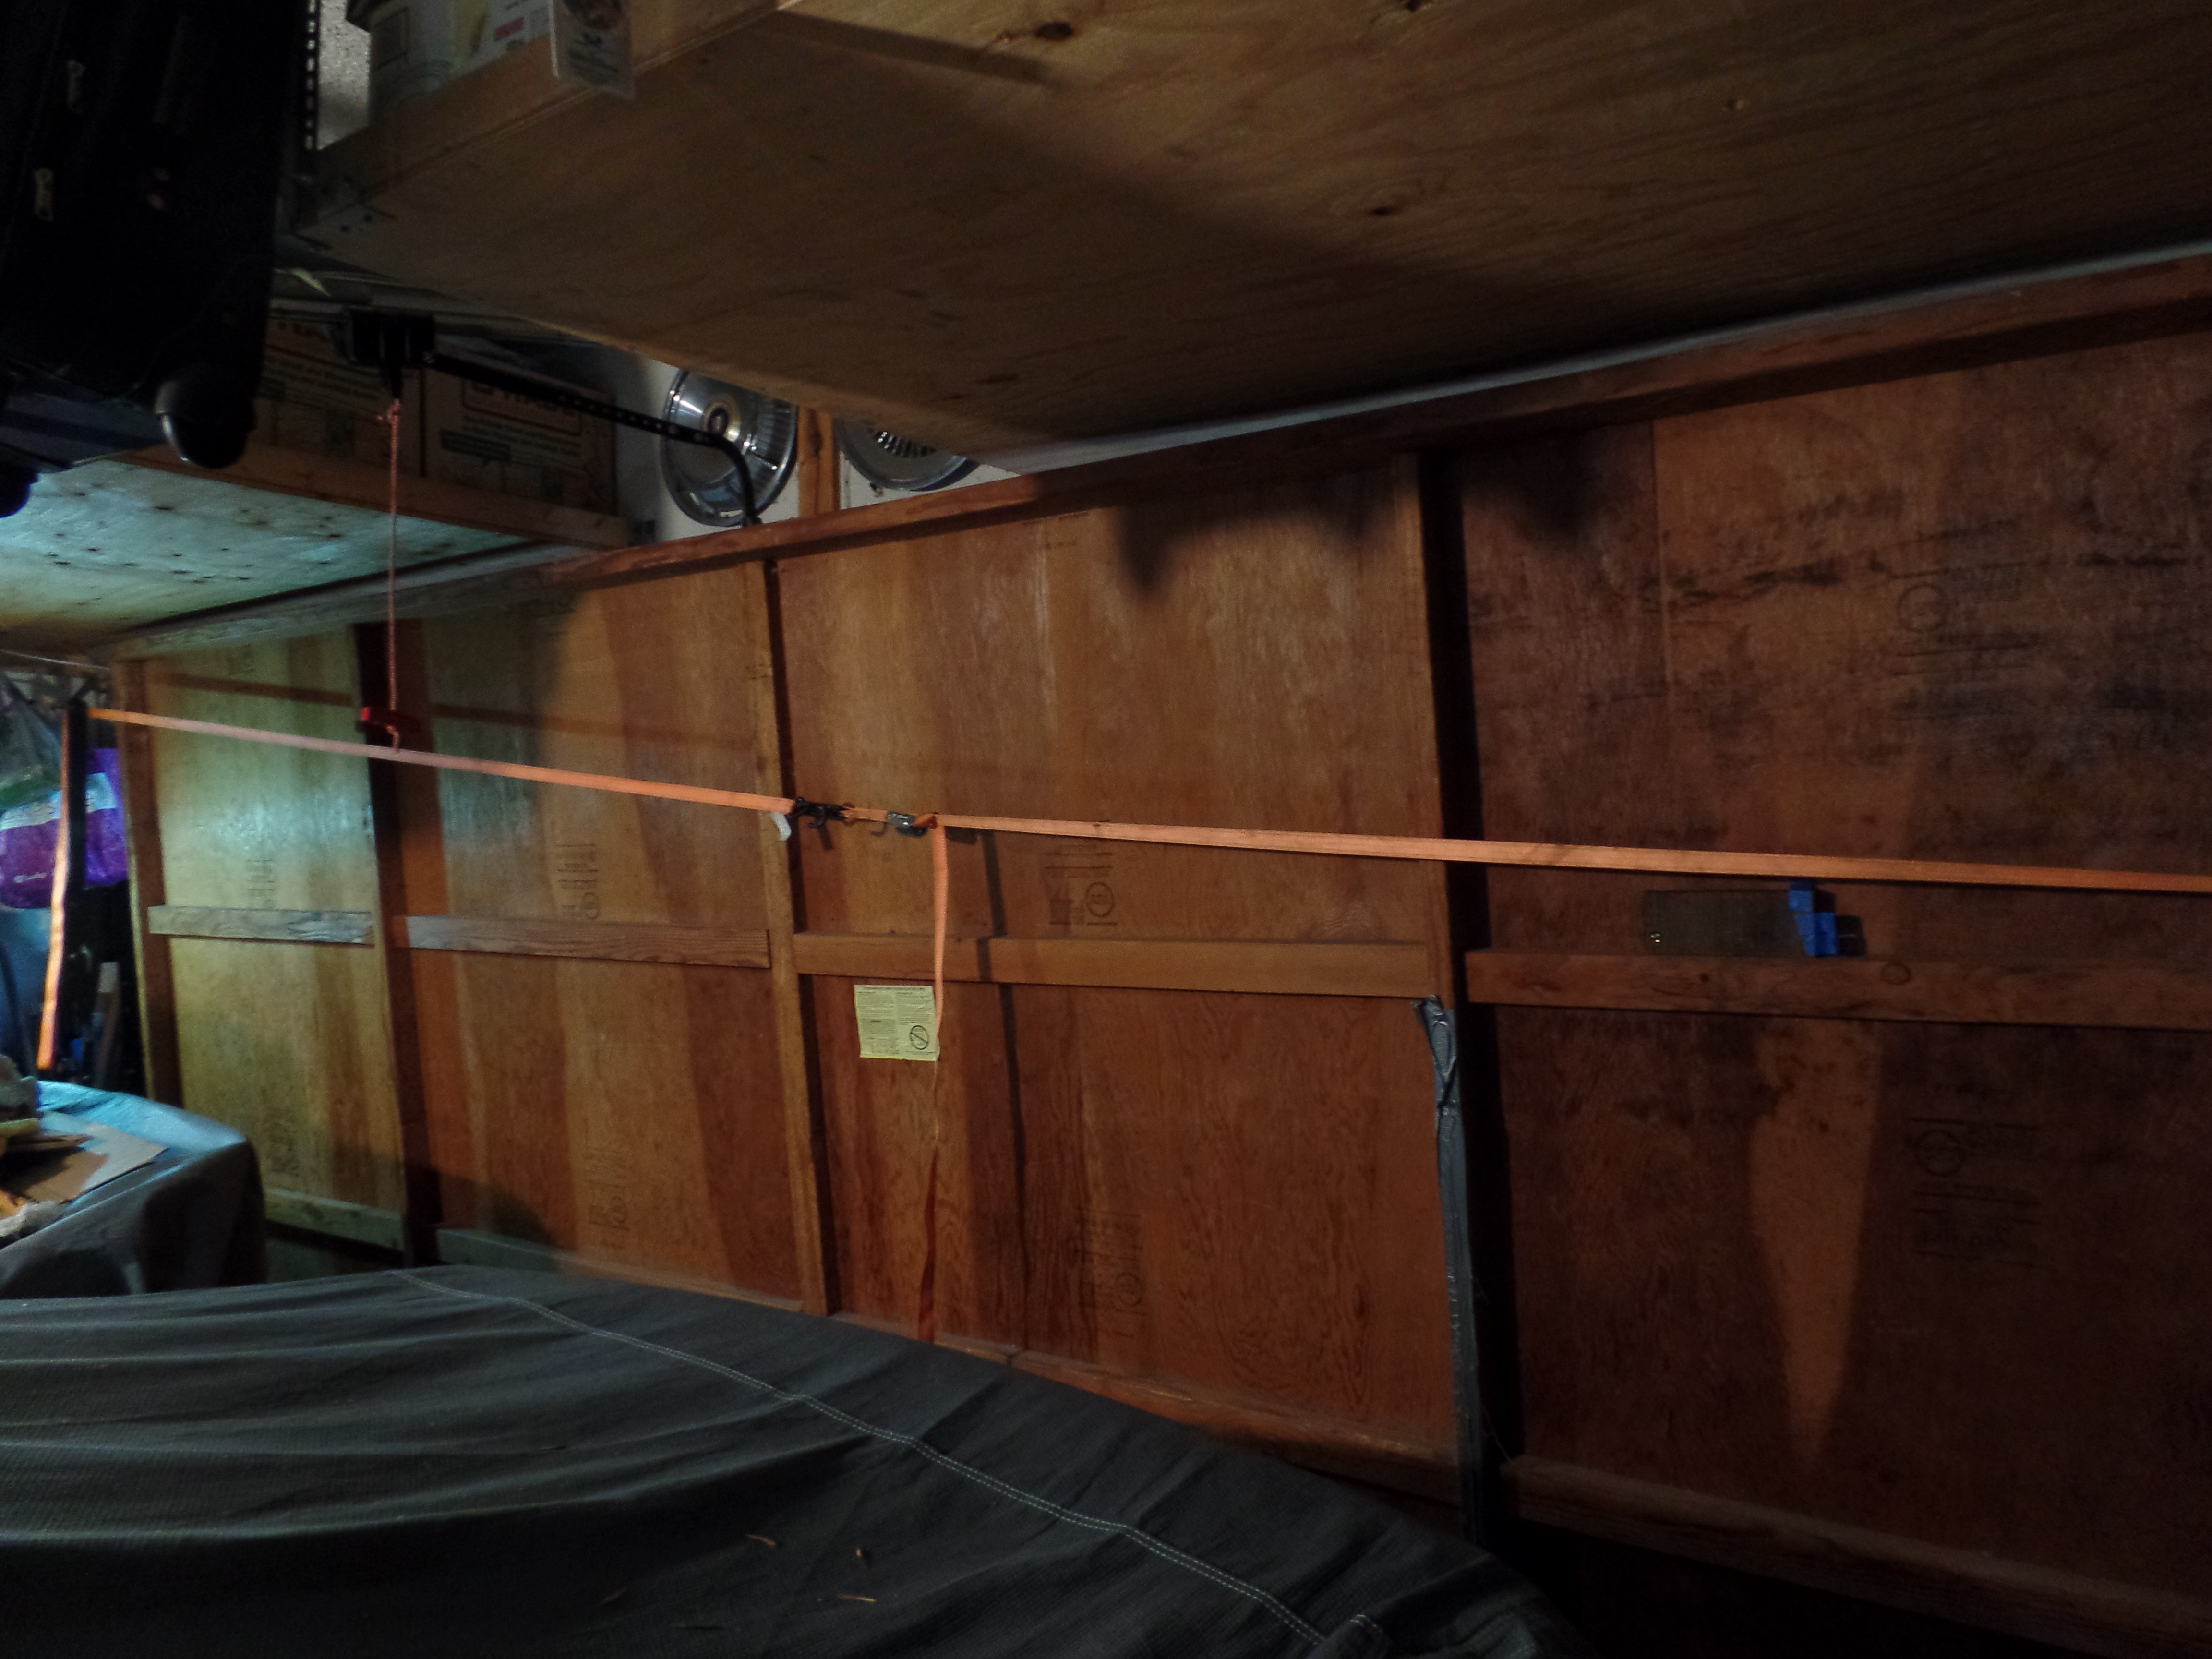 |
| It looks like there is more room than there actually was. |
The first order of business was to brace the door in position. I ran a long tie down strap from the opposite hinge to a hook that I had screwed into the wall. I also found an adjustable load brace bar that I had bought from Harbor Freight years ago. I adjusted it to brace the top of the door to the upright on one of my metal storage shelves. Then I undid the nuts that held the springs to the lower retainer and removed the springs. I used my Makita impact driver to undo the door rail. Then I carefully removed the door hinge plate itself.
As I stated earlier, the driveway is uneven in front of the door, so I took pains to measure everything so that both sides would be even. When I installed the last set of new hinges I used different mounting holes so the lag bolts would attach to fresh wood at a new spot. This took a bit of time and I had to put a spacer under the door to get things aligned.
Now that the hinge was attached, the immediate danger of the door falling back was eliminated. The next task was to attach the springs.
The last time I replaced the hinges was at least twenty years ago, and I was a younger man. The door has to be completely open and propped up with a couple of 2x4s. I recall lifting it up by myself and propping it up. I guess that mojo is gone. Just couldn't do it, and I didn't want to ask my Wife to help, no sense in both of us hurting our backs.
So using my brain and my backside, I braced myself against the door and pushed back using my legs. The door swung open a few feet and I propped the 2x2 against it at an angle to hold it in position. Then I went outside via the side door and lifted it some more and again wedged the 2x2 in place.
A note of extreme caution here. Never, ever, walk under a broken or sagging garage door! If the door were to fall on you, it could very well fall on your head and break your neck! It has happened before!
I still needed to get the door completely up. I got my small trolley floor jack and in conjunction with that adjustable Harbor Freight cargo bar jacked it up incrementally. I would jack it up, support it with the 2x2, extend the cargo bar, jack it up some more, and re prop it up. It took some blocks under the 2x2 near the end but I finally had it open completely.
I propped it open securely using the 2x2 and the floor jack under the cargo bar. I did not walk underneath, I went around the outside.
Now I had to attach the springs to the bottom mount. They needed to be stretched a bit to reach the mount. Equipped now with less mojo but more weight, I grabbed the spring and lunged downward, stretching the spring and swung the end towards the mount. It took several attempts but at last, the springs were attached. Now to adjust them by tightening down the nuts which would pull the mount down.
Again Harbor Freight comes to the rescue. Instead of using an open or closed wrench to turn them a quarter turn at a time I had an opportunity to use my new pass through socket set. These are sockets and a ratcheting wrench with a hole in the middle, allowing you to turn nuts that are on a long bolt or stud. Very convenient!
The springs have to be adjusted until the door is easy to operate by hand. The springs are stretched in the closed resting position, they help pull the door up and then a cam tightens them as the door swings over center and holds it open. It's an ingenious system. I never had a power door lift until I moved into this house. But if you can't lift the door easily manually, then don't expect the opener to do it either.
I had it opening okay, it might still need a little adjustment. The door stays open a bit, but at least it looks even from the outside.
I went to check it out this morning and found that I had failed to sufficiently tighten down one of the hinge plate mounting screws and noticed how the plate was now out of line. I tried to loosen the mounting screws a bit and encourage it to move back into alignment with a crow bar. That didn't work. I realized that I needed to unload the hinge assembly by removing the springs! What followed was a replay of yesterday, except that I was able to raise the door to a completely open position by myself. But I wasn't able to hold it up by grabbing the 2x2 I had used previously, without a helper. So I went back to using a jack and doing it bit by bit.
I realigned the hinge plate then re-tightened it, adding another lag bolt. This time I adjusted the spring tension much tighter, on both sides. Then I spent an hour re adjusting the movement of the door opener. It is really easy to manually raise the door, and the opener seems to be working okay for now.
Another crisis averted, or at least delayed. It cost me a bit under two bills for the parts. My labor of course was free. If I'd called a garage door guy out, I bet the call would have been at least that much. Then I'd have to pay for the parts. He probably would have pressured me to replace the door by refusing to do the repair. Sure, I'd like a new sectional door, and a new driveway for that matter. I checked out the prices at Home Depot and those sectional doors started at a grand, plus installation. Plus removal and disposal of the old door and opener. I can still do that myself.
There's nothing wrong with a one piece garage door, as long as the hardware and the door are in good shape. I can add some different trim pieces, paint it and give it a new look.
The driveway is another matter. The offending section of concrete can be ground down or it could be cut out and patched. I'd rather go with the lower priced alternative, as replacement of the entire driveway is a consideration already.
My Wife and I have decided that this is going to be our retirement home. We aren't planning to move, so we are slowly adding improvements and repairs until our house is just what we want. We have lived here for 36 years so it does need some work. I'm just relieved to get it back on the holding pattern.
I saved the best news of all for last. The door didn't actually fall onto my '96 Mustang, so it didn't sustain any damage. That's at least one thing that I'm thankful for!
No comments:
Post a Comment